
How to Fix Gaps and Misalignment in Embroidery Digitizing
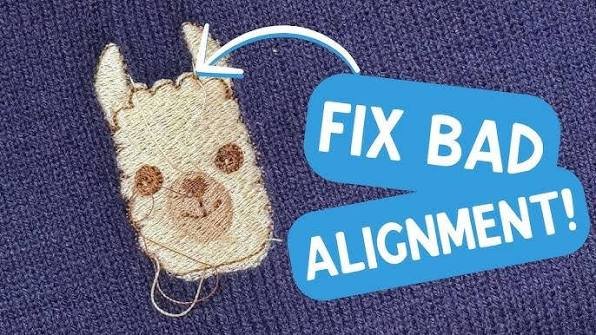
Gaps and misaligned elements are common problems in embroidery digitizing. They can make a design look unfinished and reduce the overall quality of the final embroidery.
The good news is that these problems can often be corrected through proper digitizing, stitch planning, and testing.
What Causes Gaps in Embroidery?
Gaps can appear when embroidery objects do not overlap correctly or when fabric shifts during stitching.
Common causes include:
- Incorrect stitch sequencing
- Insufficient pull compensation
- Low stitch density
- Fabric movement
- Poor stabilizer selection
- Incorrect design settings
How to Fix Embroidery Gaps
To reduce unwanted gaps:
Check Pull Compensation
Fabric can pull inward as stitches are added. Adjusting pull compensation can help objects meet correctly after stitching.
Review Stitch Density
If coverage is too low, the fabric may show through the design. Adjust density carefully rather than simply adding excessive stitches.
Improve Object Overlap
Small overlaps between embroidery objects can help prevent visible gaps, especially where different sections meet.
What Causes Misalignment?
Misalignment occurs when design elements do not line up as intended.
It can happen because of:
- Incorrect stitch sequence
- Fabric movement
- Poor hooping
- Improper stabilization
- Excessive stitch pull
- Incorrect machine settings
How to Improve Alignment
For better results:
- Use the correct stabilizer.
- Hoop the fabric securely.
- Plan the stitch sequence carefully.
- Use appropriate pull compensation.
- Test the design before production.
Testing is especially important when working with large logos, detailed designs, or stretchy fabrics.
Learn Professional Digitizing Skills
The Stitchmastery Course from EmbroiderySkills.com can help learners understand practical embroidery and digitizing techniques, including design preparation and troubleshooting.
🌎 Available online worldwide
💰 Affordable pricing
🧵 Suitable for different skill levels
🚀 Practical, career-ready skills
For course information and enrollment:
info@embroideryskills.com
Final Thoughts
Fixing embroidery gaps and misalignment requires an understanding of stitch density, pull compensation, sequencing, stabilization, and fabric behavior.
With proper digitizing techniques and regular testing, you can create cleaner, more accurate, and professional embroidery designs.